
Services
Hardwood Floor Installation in Cincinnati
New hardwood adds warmth, beauty and lasting value to your Cincinnati home. We install it with precision so it looks right and performs for decades.
Why hardwood
Beauty that pays you back.
Hardwood floors provide warmth and beauty to your home, and the benefits go well beyond looks.
- Adds value to your home
- Easy care and cleaning
- Great style coupled with durability
- Natural and safe for the environment

Choosing the right method
Three installation methods
The best method depends on the flooring you choose and the space it's going into. We'll recommend the right one for your project.

Floated
For laminates or engineered flooring.

Glued
For laminates or engineered flooring.

Nailed / Stapled
For engineered or solid hardwood.
Our process
A nail-down installation, step by step
Photos from a real Premier installation.
-
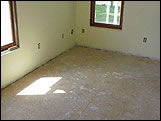 Step 1
The starting point
A room with only a subfloor.
-
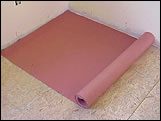 Step 2
Moisture barrier
15 lb felt paper is used to cover the subfloor and act as a moisture barrier.
-
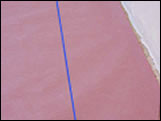 Step 3
Reference lines
We lay out reference lines. Hardwood floors are laid perpendicular to the floor joists.
-
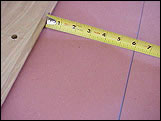 Step 4
The first board
The location of the first board is carefully determined so it runs perfectly parallel to the reference line.
-
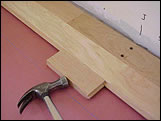 Step 5
Professional tools
A flooring staple gun secures each board.
-
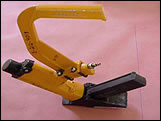 Step 6
Tongue and groove
The same sequence is repeated for each plank, starting by placing the tongue of the board into the groove of the previous piece.
-
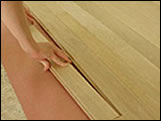 Step 7
Board by board
The stapling process begins and continues across the room.
-
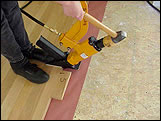 Step 8
Complete
Stapling continues until the room is complete.
Planning new hardwood floors?
Tell us about your space and we'll help you choose the right wood and installation method.